Pardon Our Soil
I am in the process of customizing a new theme for this blog site. It’s a bit messy right now.


Client Testimonials
Don’t take our word for it – here’s what our clients say:

John Doe
Company name
John Doe
Company name
John Doe
Company name
Care to follow us?
Our Community

Clients
Blitz!

Farmers
Linda Hart, Crazy Hart Ranch, Fellsmere, FL

Farmers
Susana Lein, Salamander Springs Farm, KY

Farmers
Susana Lein, Jim Gibbons, Gibbons’ Organics

Friends
Nan, Renee

Neighbors
JoE

Volunteers
Heathcote Botanical Gardens

Your Host
Adina Lehrman
Latest News
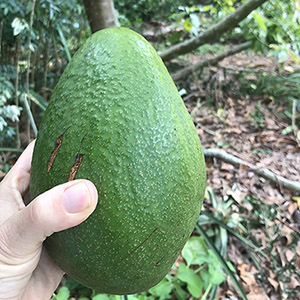
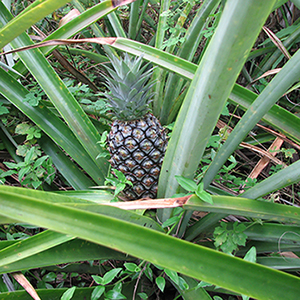
In The Garden: Growing Pineapples in the Sub Tropics
Here on the Treasure Coast pineapple production has had a long and not always happy history. Back in the late 19th and early 20th centuries pineapple plantations on the Treasure[…]
Read more
Bunny Rabbits: Pearl & Elliot’s Rescue
Several weeks after Hurricane Irma, a lady in the neighborhood, Tina, saw these two rabbits out like this. She posted a notice on the Next Door app to see if[…]
Read more
Halpatiokee Buffer Preserve February, 2017
This isn’t just about destroying beauty, as though that isn’t enough of a crime. There is so much more to this land than that. I am not the writer to tell you about all of the important ecosystems at work on this amazing piece of land, though I suggest you read about them for yourself. The telling requires the expertise of a River Keeper, a Native Plant enthusiast, an Audubon Naturalist, a Florida Park Ranger, a Botanist, a Zoologist, and an expert in the Science of Whole Systems Relationships.
Read more
Contact us
With the Internet spreading linke wildfire and reaching every part of our daily life, more and more traffic is directed to websites in search for information.
Contact form will be displayed here. To activate it you have to set the "contact form shortcode" parameter in Customizer.